Using Micro:bit to control TapeBlocks
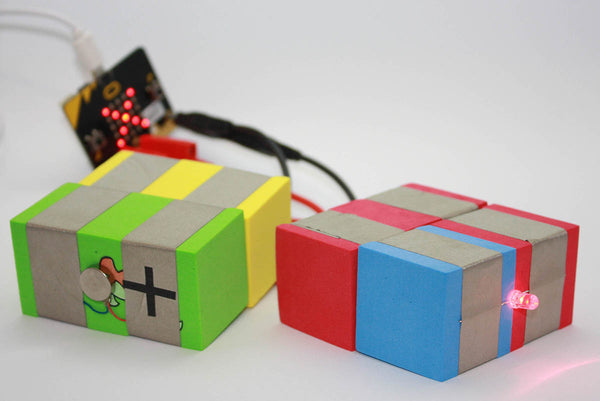
Connecting TapeBlock to Micro:bit using the pins, banana plugs and conductive tape. A gentle and fun introduction to physical programming.
Micro:bit is a great way to introduce programming. Being able to program physical objects is really powerful for introducing computing beyond the screen. With a banana plug cable, wire cutter/strippers it is possible to create TapeBlocks that will connect to the pins on the Micro:bit. Then they can be programmed using the vast learning resources that have been developed for the Micro:bit which provide drag and drop programming or various coding options.
Making the Connections
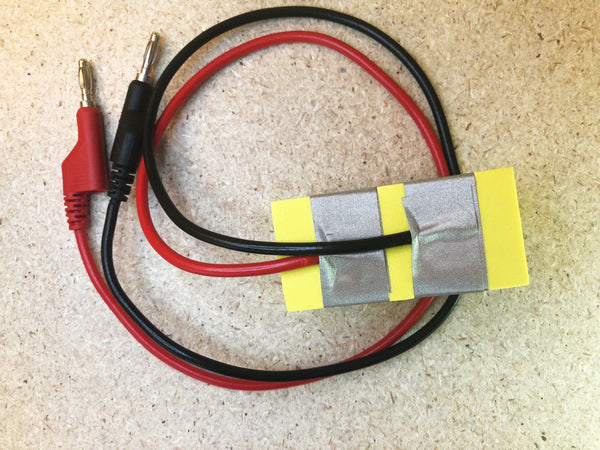
TapeBlocks can be connected to the Micro:Bit with a banana plug. Cut a banana plug lead in half and strip 1cm from the end. Wrap the TapeBlock in conductive tape and sandwich the wire under and over the tape. One wire will become the positive line and one will become the ground
Connect the Red plug to pin 0 and the Black plug to the ground on the Micro:Bit. If multiple pins are used the ground plugs can be stacked.
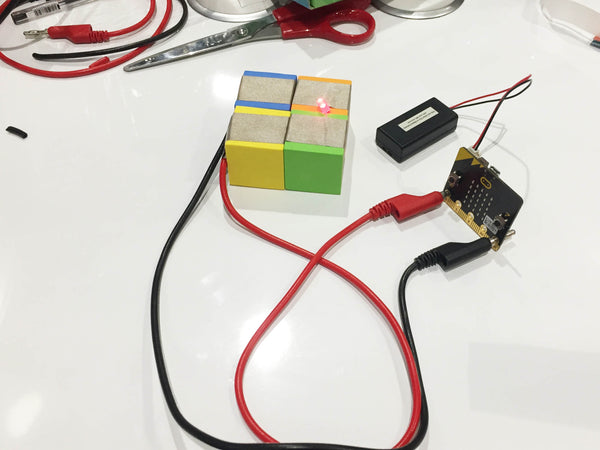
To control the TapeBlock with the Micro:bit. The code needs to be coded into http://MicorBit.org lets code and then uploaded to the Micro:bit.
- On Start Set the Pins to 0
- On button A press set the Pin to 1 - turn on
- On button B press set the Pin to 0 - turn off
