This tutorial shows how to make a light up flower garden with long tail LEDs and conductive tape. It uses a foam button for the switch and is powered by a 5V to 3V step down buck converter.
VIDEOFlowerButton
Material
Board
Conductive Tape
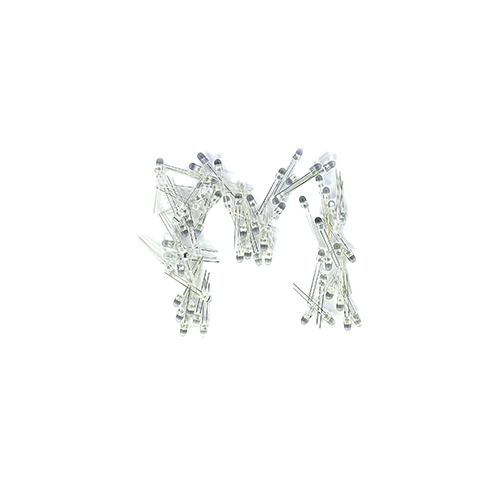
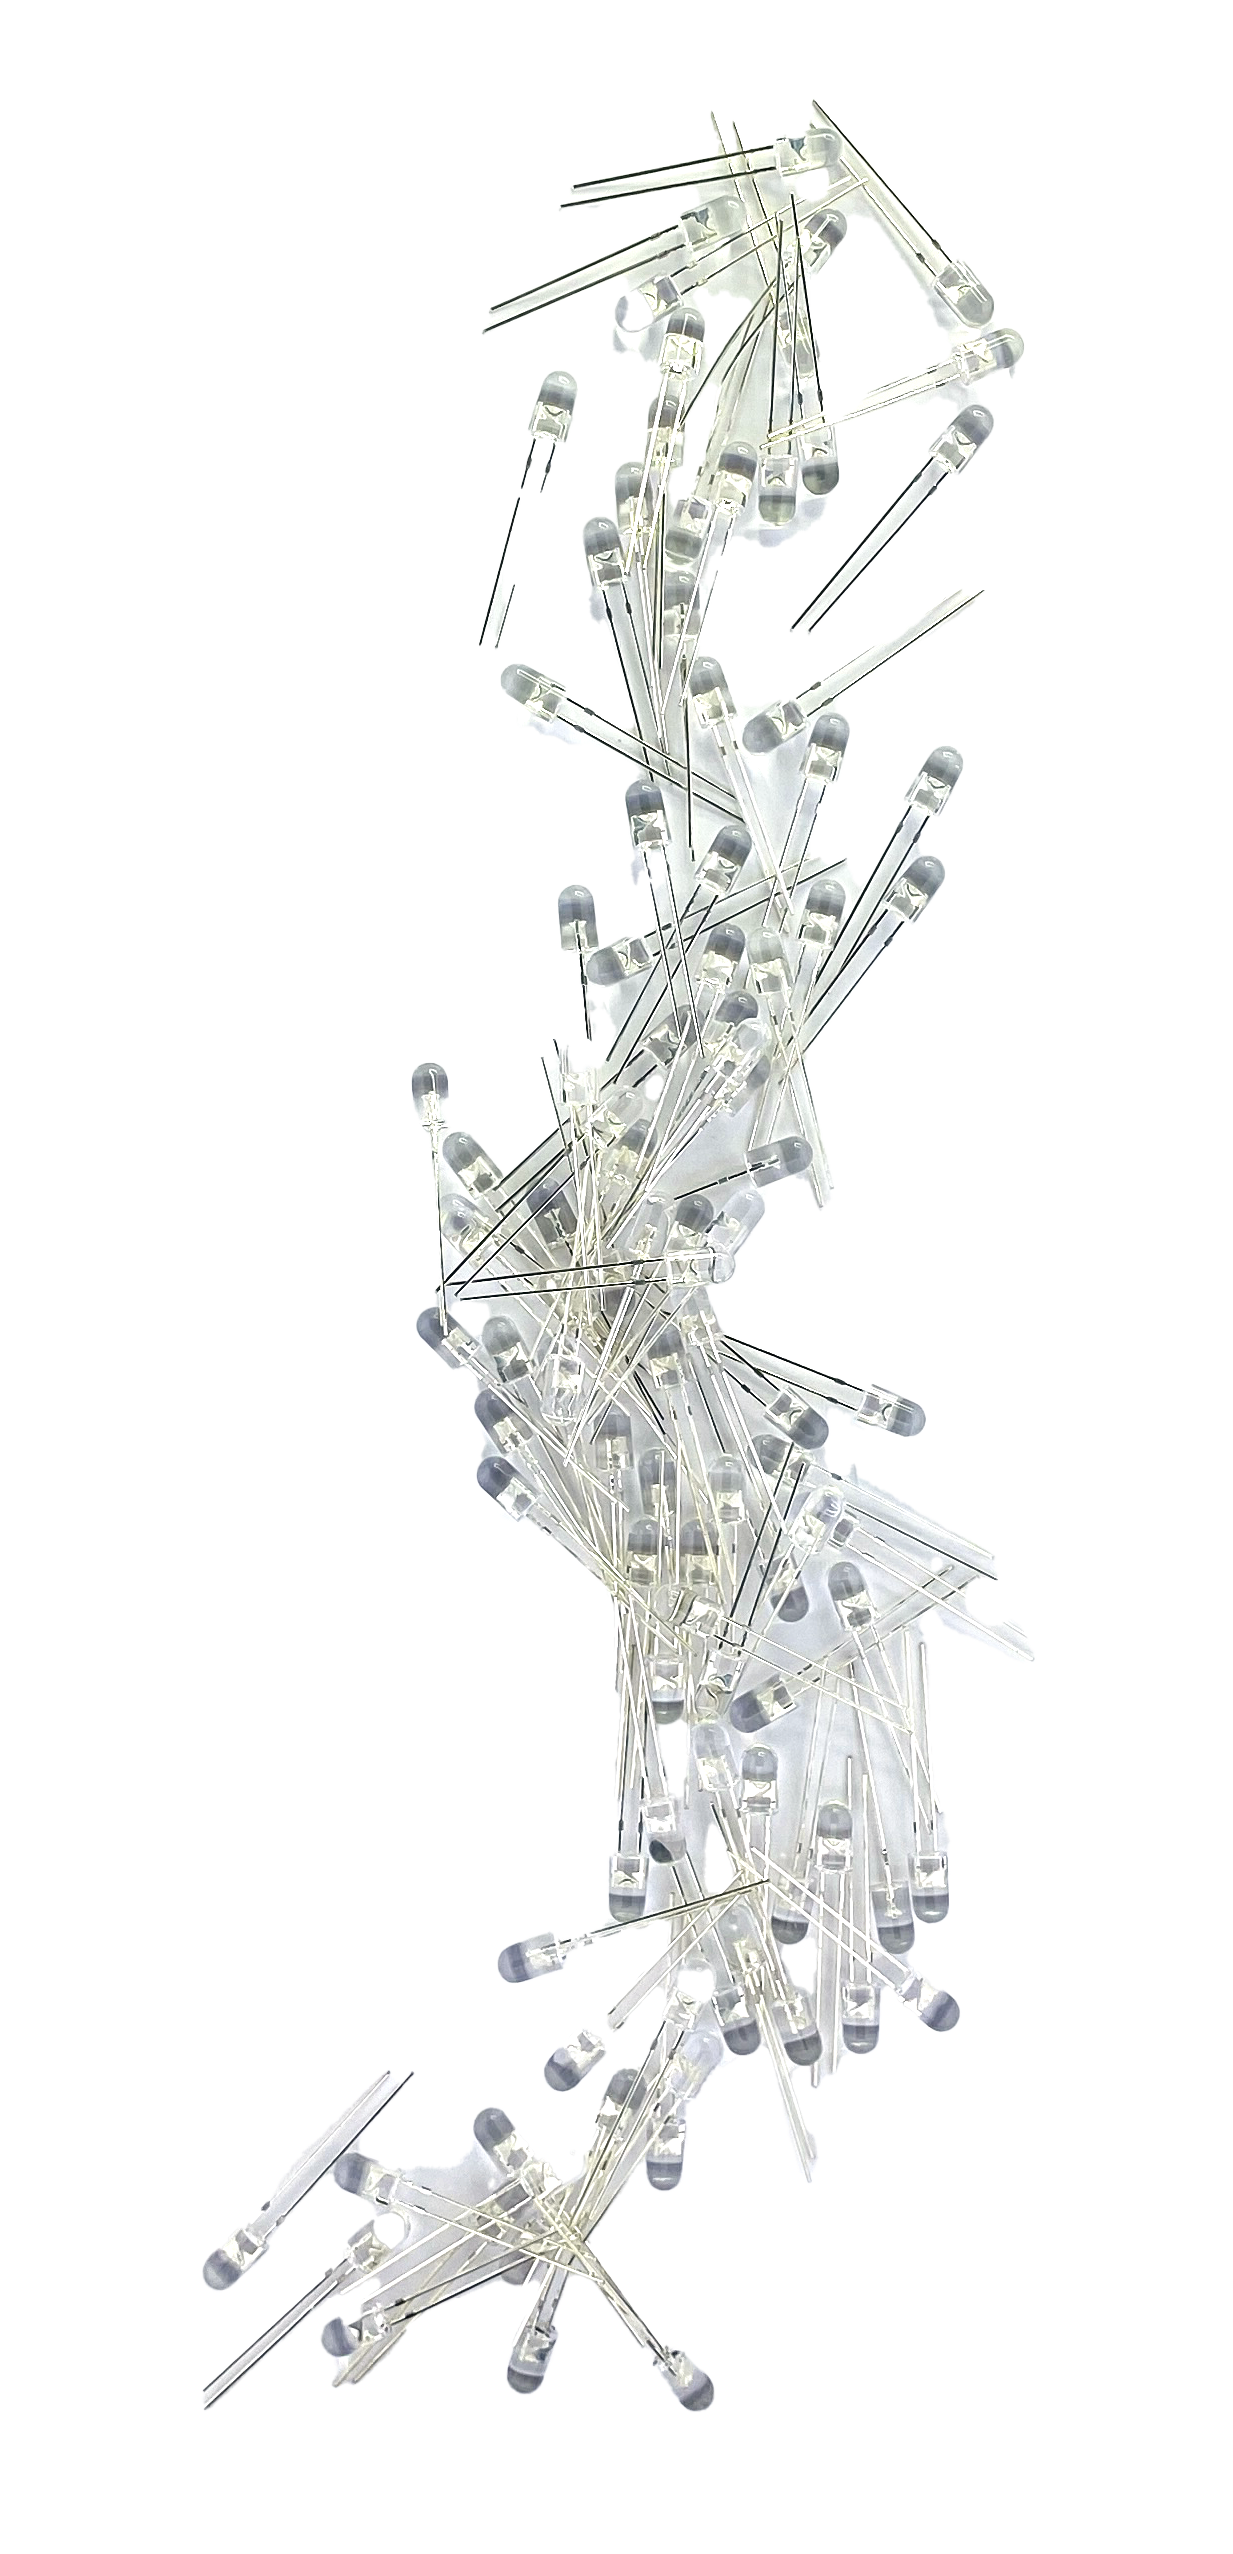
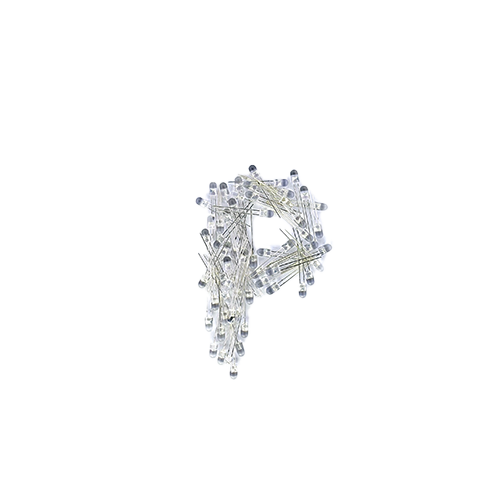
Long tail LED
USB Cable buck converter
Scissors
Wire Strippers
Glue or Hot Glue
Vynal
Material
Lace
Pom Pom
Glitter foam
Chenille stick/pipe cleaners
Rubber bands
Craft Butterflies
Button Stickers
Instruction
Prepare the space by placing a line of conductive tape across the top and bottom of a board, and then down the side, leaving two gaps
One gap will be for the battery connection using the USB cable and alligator clips.
The other gap is for the button, which will connect the two sections to allow electricity to flow.
Attach the button, ensuring it is securely in place.
Flatten the longtail LED wires and strip the ends.
Attach the LEDs at different heights using small pieces of conductive tape, ensuring the red wires are at the top and black wires at the bottom.
Connect the alligator clips, placing the red clip at the top and the black clip at the bottom
Press the button to ensure the lights turn on.
Decorate by using textured materials to build layers with grasses and plant material representations.
Add three light-up flowers, securing materials with hot glue or white glue.
Decorate with various materials like pipe cleaners, pre-cut flowers, butterflies, and pom poms for a balanced composition.
Test the lights again by pressing the button to see the flowers light up. Voilà! Now you have your light-up flowers.
Problem Solving
Make sure that the positive and negative side are not touching
Make sure that the positive clip is to the red wires and the negative clip is to the black wires
The foam on the button needs to be short enough that a connection is made with the conductive tape on the board but needs to be lifted clear when not pressed
Choosing a selection results in a full page refresh.