Make a light up necklace
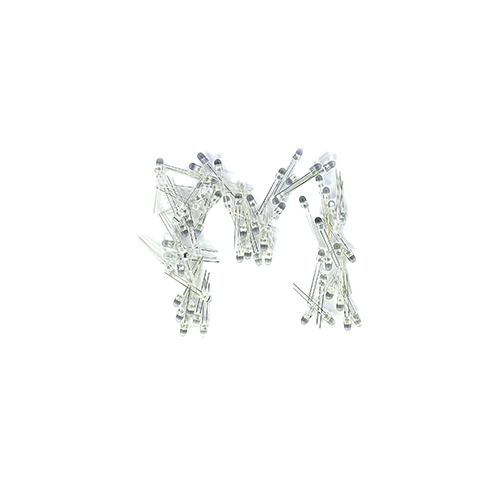
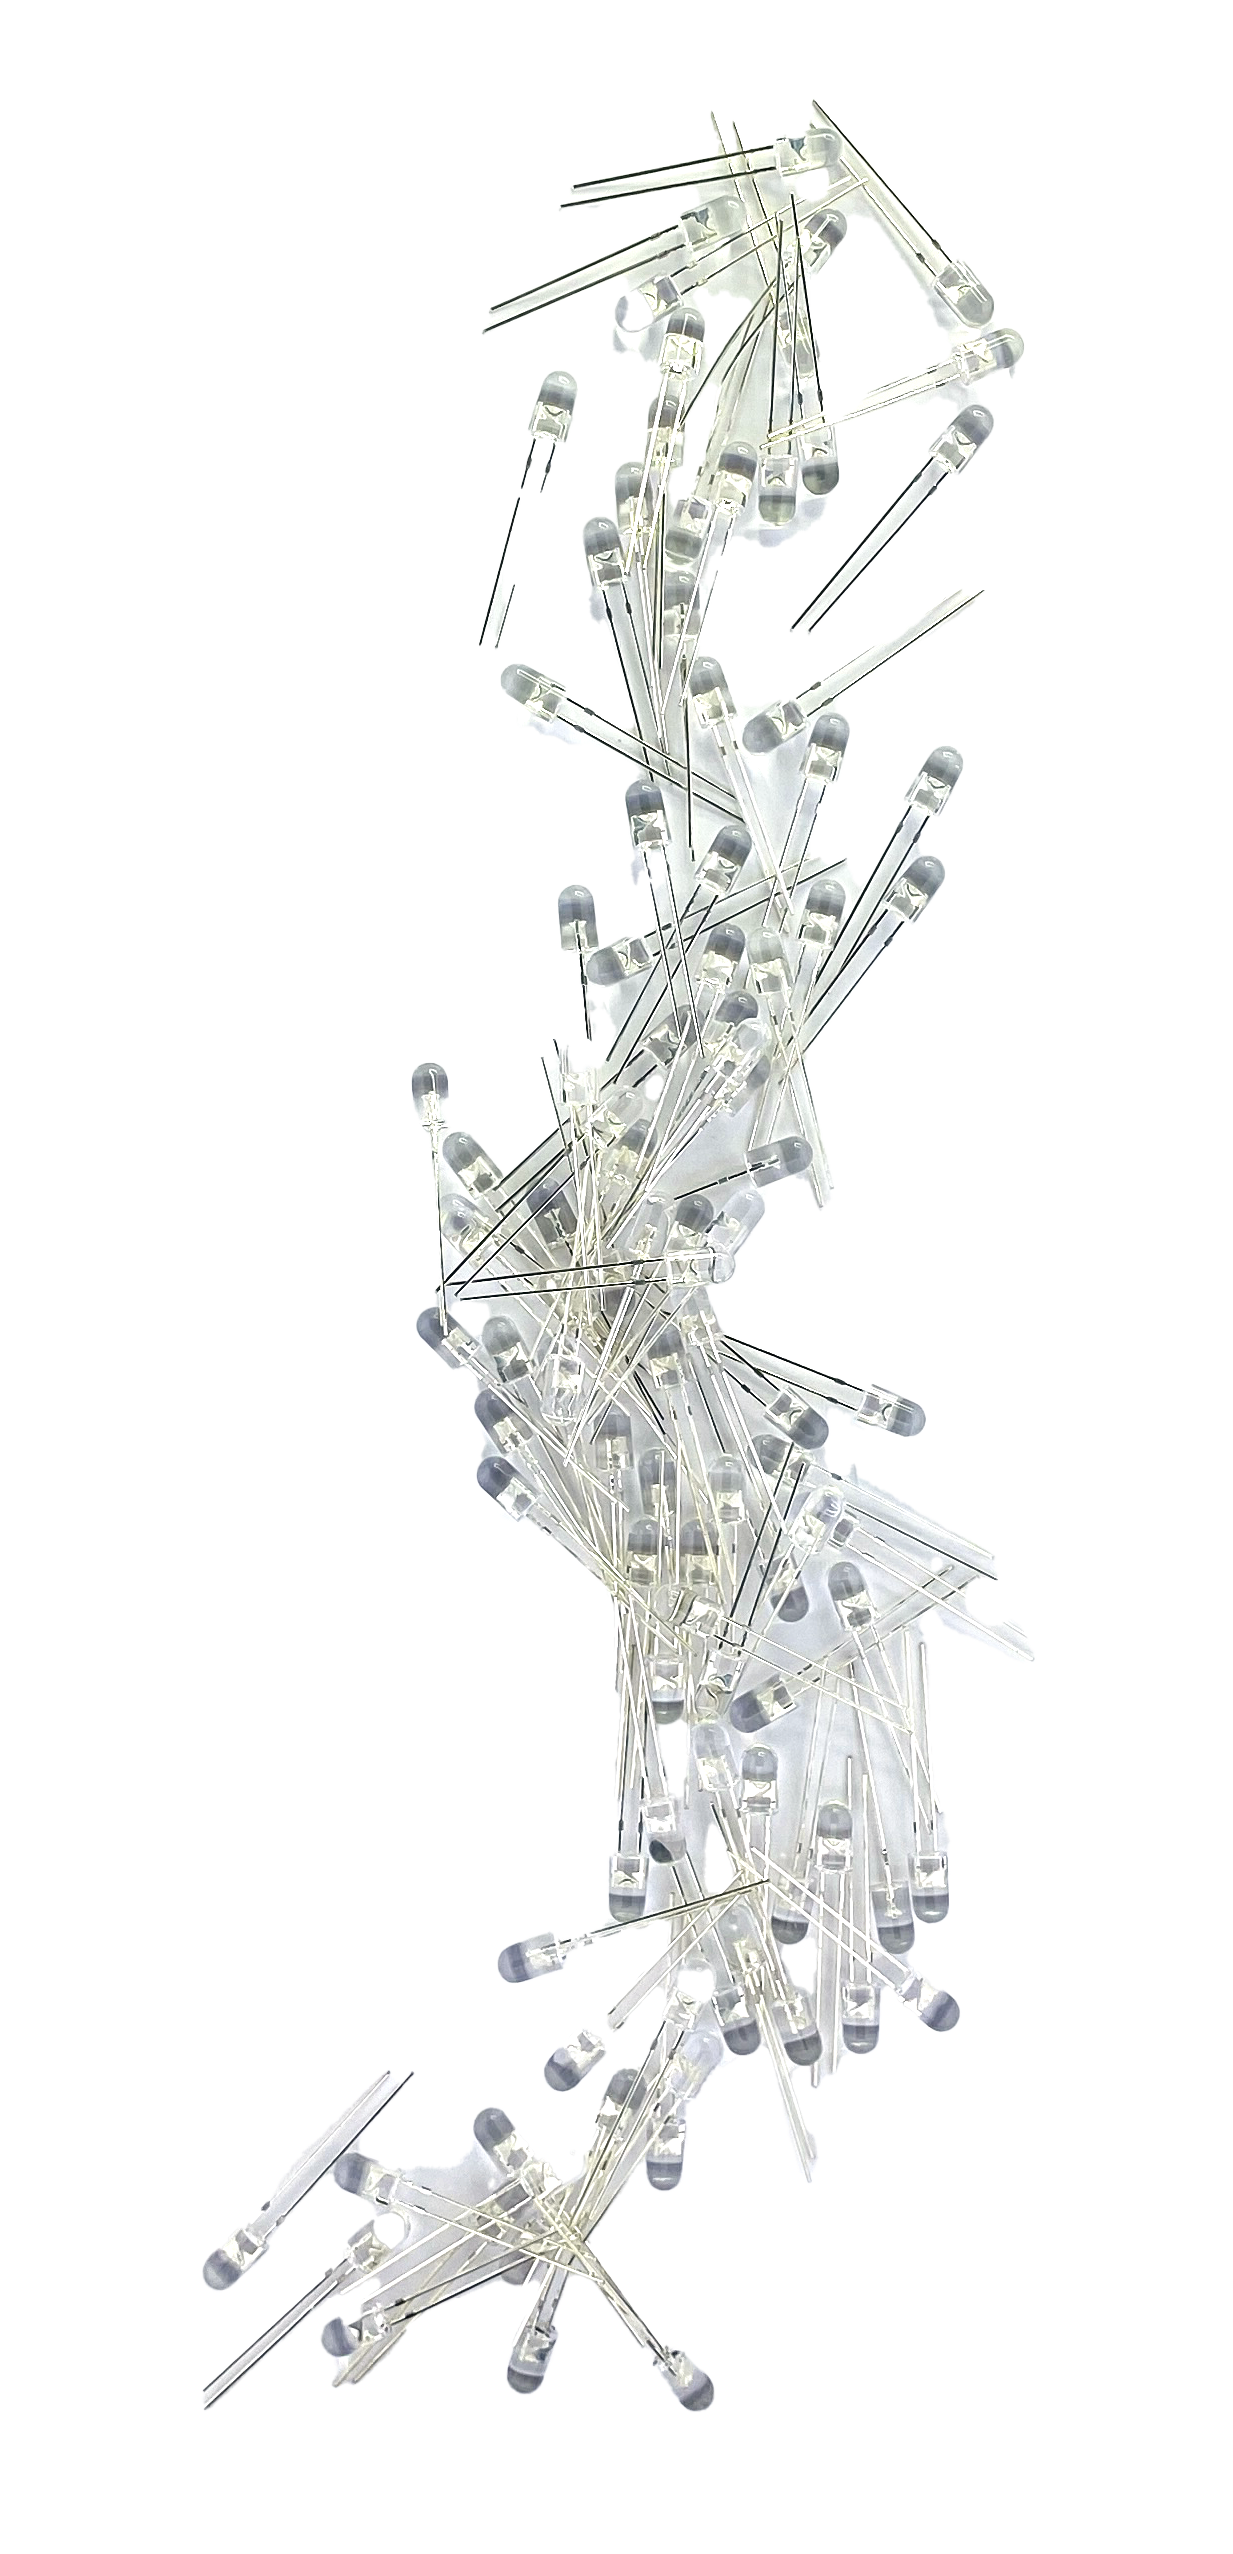
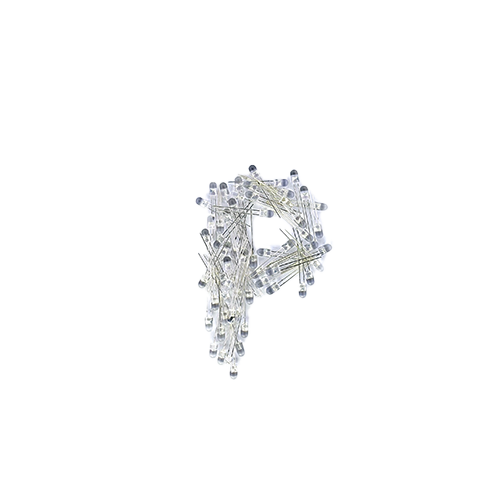
This tutorial demonstrates how to make a beaded necklace that lights up.
VIDEONecklace
Material
- Metal Finding
- LED
- Clear Beads
- USB 3V Buck converter
- Round nose pliers
- Wire cutters
Instruction
- Take an LED and split the legs apart.
- Place a clear bead on each leg.
- Use pliers to make a loop from the remaining part of the LED legs.
- Attach wire to these loops. This step can be a bit fiddly, so ensure the wire is secure.
- Roll the other LED leg into a circle to create a loop. Attach another piece of wire to this loop.
- Attach a cable to the LED legs. You can use a 3V buck converter. Ensure the LED works by checking if it lights up.
- Decorate the Circuit: Thread beads onto the wire in a pattern of your choice.
- Once the sequence is complete, curl the wire ends to prevent the beads from falling off.
- Repeat the pattern on the other side, making sure both sides match.
- Connect a power bank cable to the wire. Ensure the negative side of the cable is attached to the negative side of the LED for it to work.
- And there you have it—a beautiful light-up beaded necklace
Problem
- Make sure that the positive of all components is on one side and the negative is on the other
- Make sure that the joined wire is connecting